
Manuals & Guides
The manual and quick guide are already available for download in up to 15 languages. Below you will find the initial setup, step by step with photos.
Initial setup
The IntegraMouse AIR is designed for plug and play. For the first setup, we recommend using it with a cable connection.
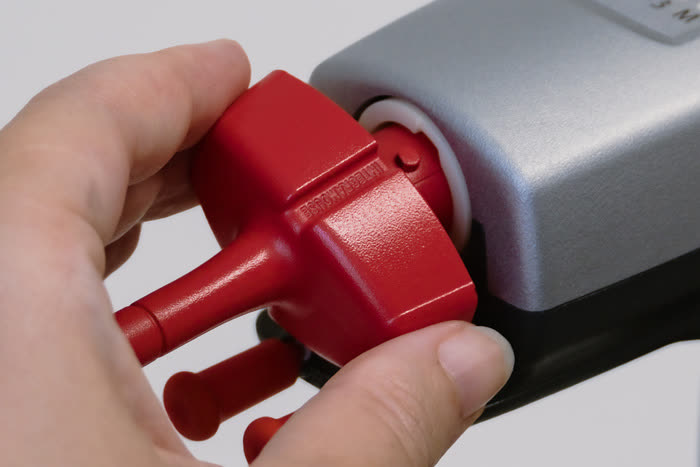 1
Insert the mouthpiece
Insert the mouthpiece, making sure to line up the pin and guide.
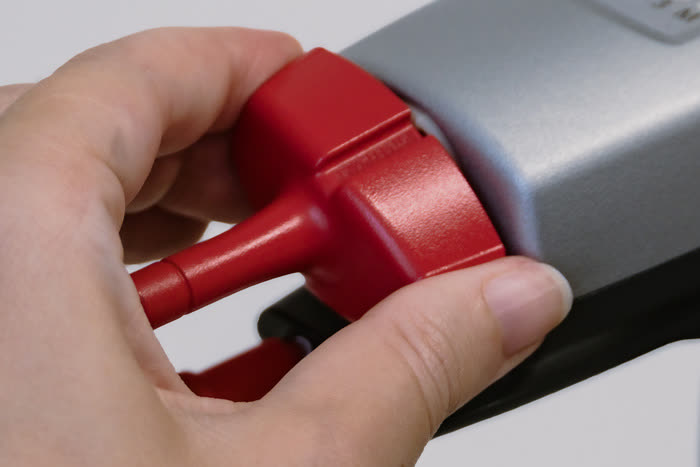 2
Turn the mouthpiece
Applying light pressure, turn the mouthpiece anticlockwise until it clicks into place.
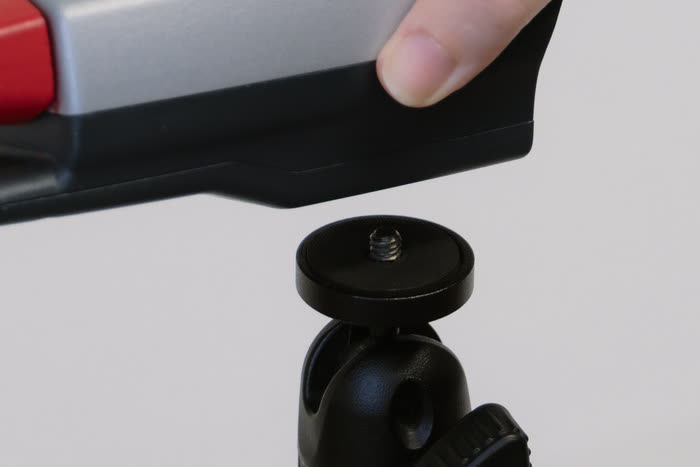 3
Attach the mount
Attach the IMAIR to your mounting system (1/4" thread).
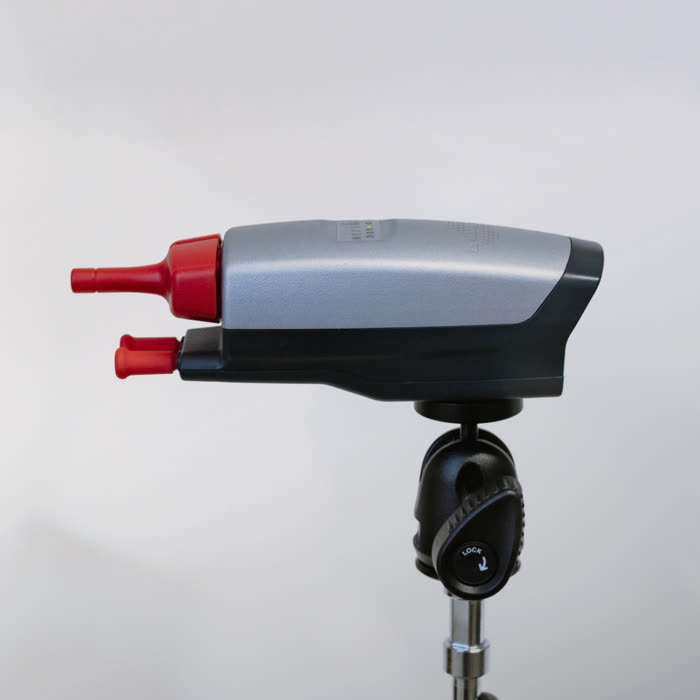 4
Adjust the position
Move the IMAIR into the position you want.
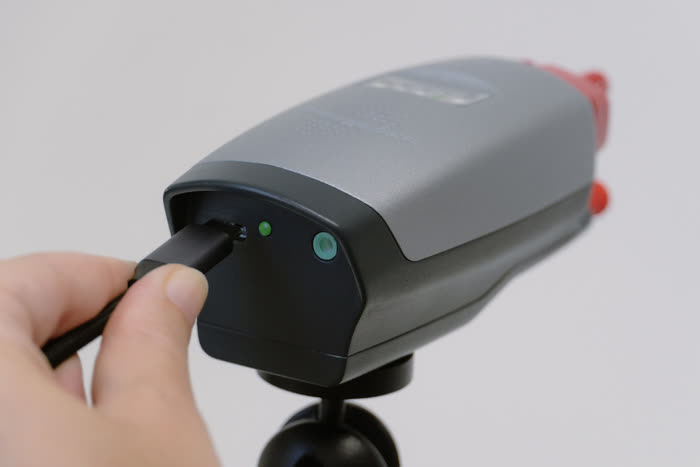 5
Plug in the USB-C cable
Plug the cable into the USB-C socket at the rear of the IMAIR.
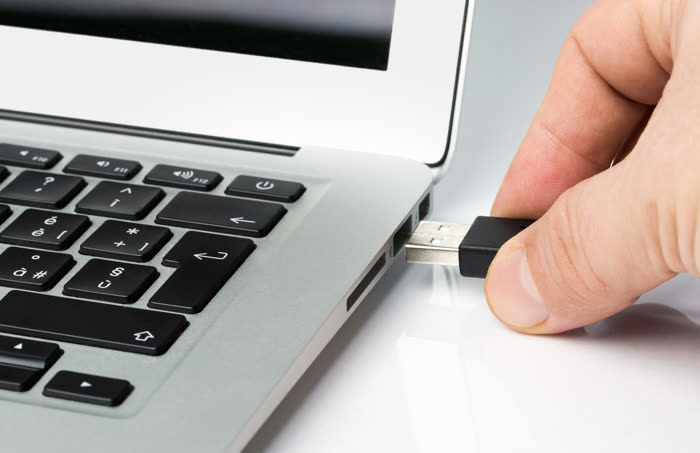 6
Connect to the computer
Plug the USB cable into your computer (USB-A socket).
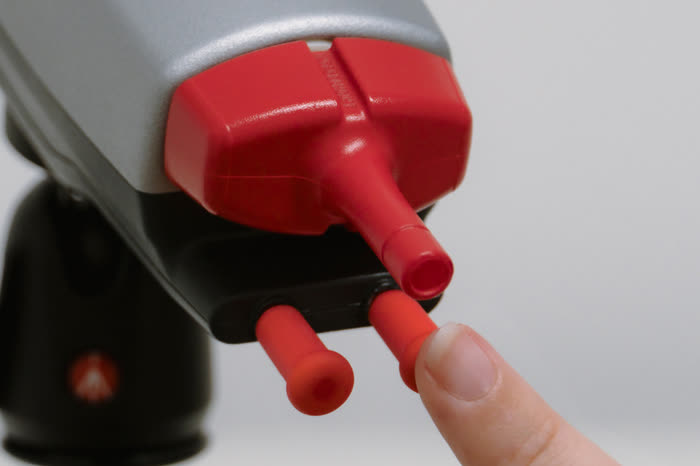 7
Switch on
Briefly press the right-hand lip switch to switch the IMAIR on.
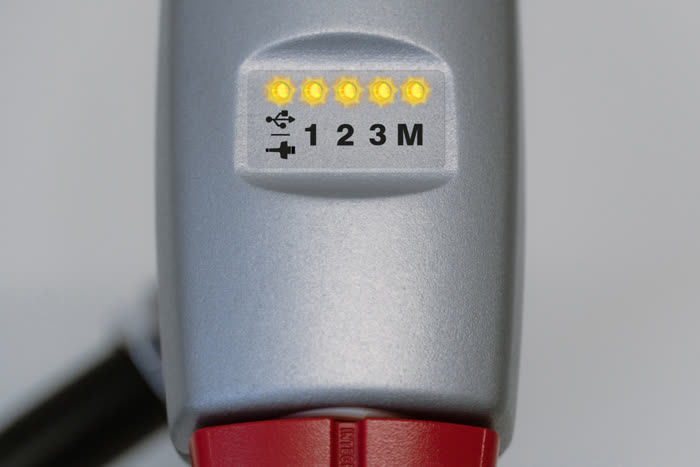 8
Calibration
All LEDs light up briefly while the IMAIR calibrates itself automatically.
 9
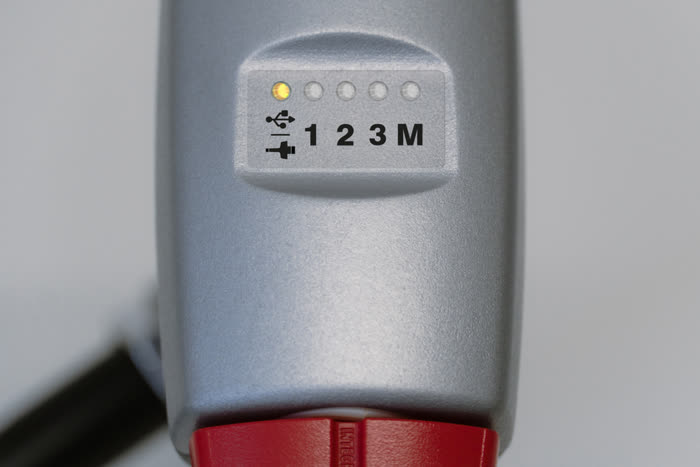
Ready to use
The left-hand LED is lit (cable connection). The right-hand LED (M) is off (mouse mode).
Please do not touch the mouthpiece while it is calibrating!
The following steps happen automatically: the internal battery charges, and your computer installs the IntegraMouse AIR as the default mouse.