
Getting Started
The IntegraMouse AIR is designed for plug and play. For the first setup, we recommend using it with a cable connection.
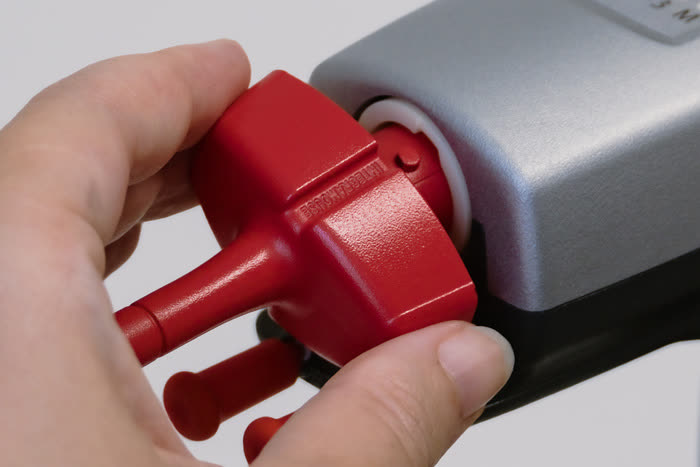 1
1 Insert the mouthpiece
Insert the mouthpiece, making sure to line up the pin and guide.
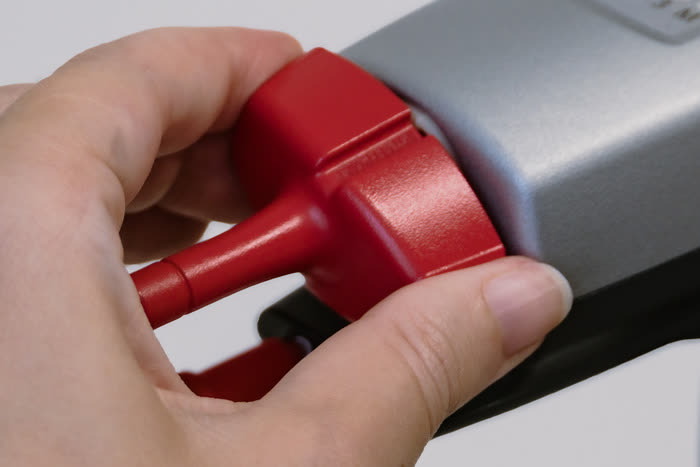 2
2 Turn the mouthpiece
Applying light pressure, turn the mouthpiece anticlockwise until it clicks into place.
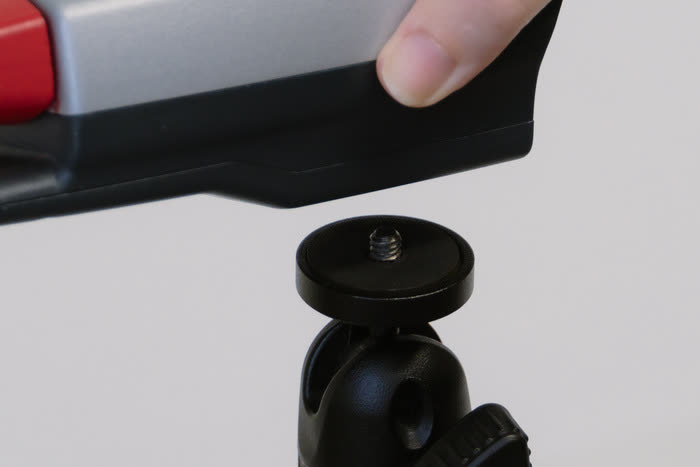 3
3 Attach the mount
Attach the IMAIR to your mounting system (1/4" thread).
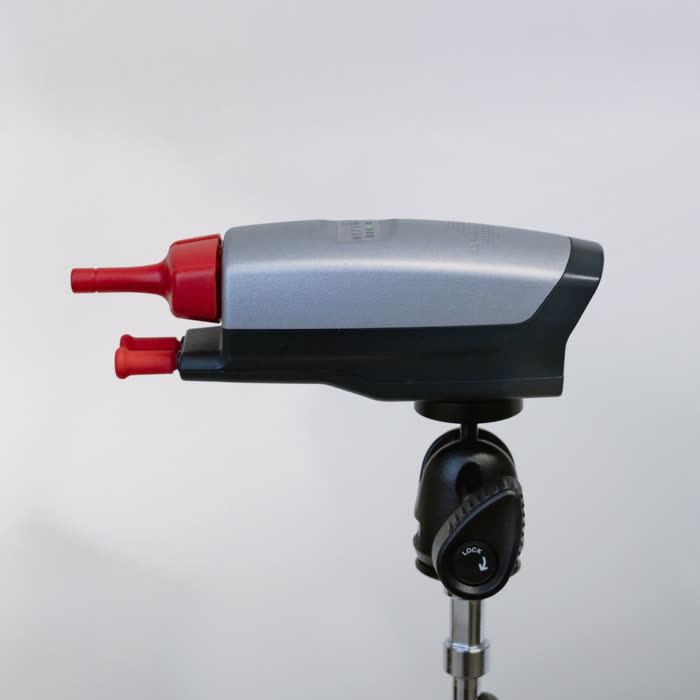 4
4 Adjust the position
Move the IMAIR into the position you want.
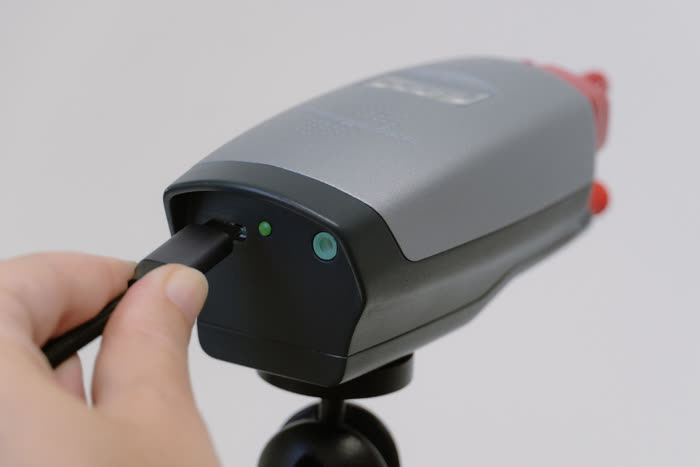 5
5 Plug in the USB-C cable
Plug the cable into the USB-C socket at the rear of the IMAIR.
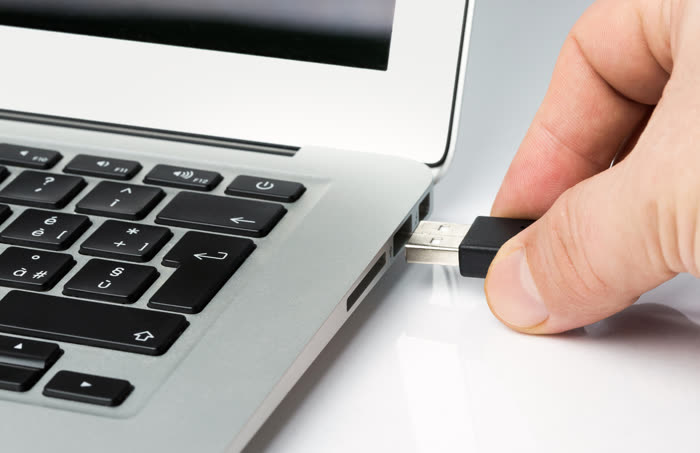 6
6 Connect to the computer
Plug the USB cable into your computer (USB-A socket).
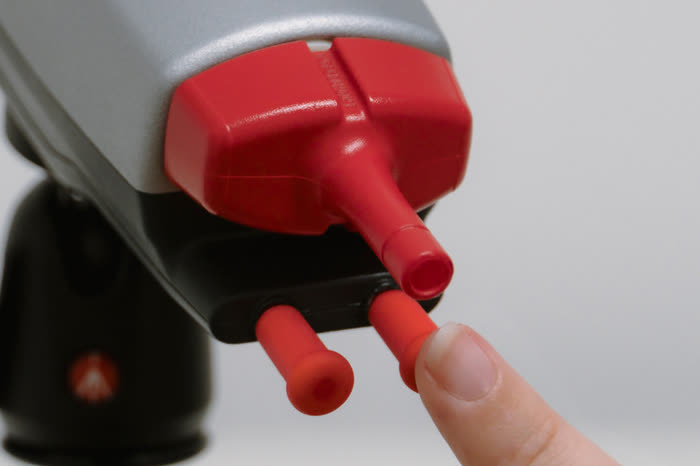 7
7 Switch on
Briefly press the right-hand lip switch to switch the IMAIR on.
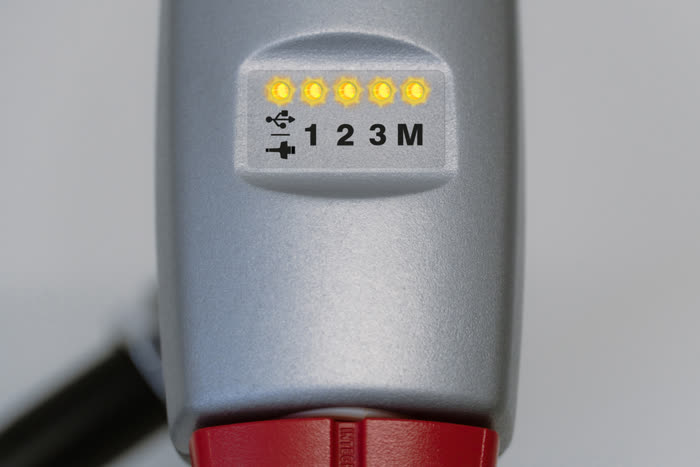 8
8 Calibration
All LEDs light up briefly while the IMAIR calibrates itself automatically.
 9
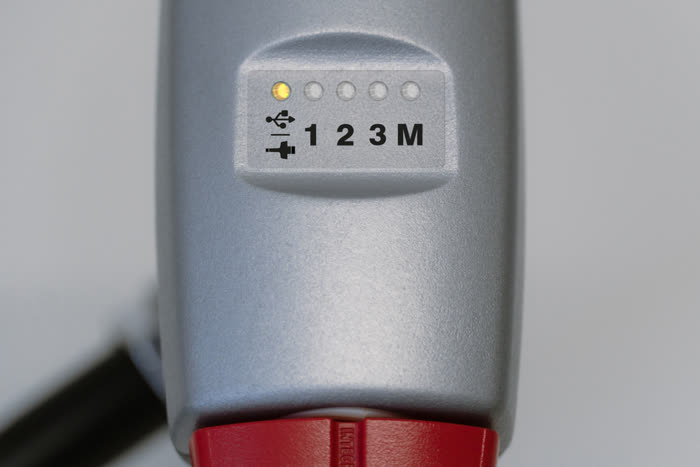
9 Ready to use
The left-hand LED is lit (cable connection). The right-hand LED (M) is off (mouse mode).
Please do not touch the mouthpiece while it is calibrating!
The following steps happen automatically: the internal battery charges, and your computer installs the IntegraMouse AIR as the default mouse.